

EN, Language: English
Language
EN, Language: English
Help centre
Guides and answers for running your organisation on Anggota.
Quick setup checklist
You can be ready to take your first member in about fifteen minutes. Work through these steps in order (each one links to a fuller guide if you want more detail).
1. Tell us what kind of organisation you are
The first time you sign in, Anggota asks What kind of organisation are you? Pick the closest match and the tools that kind of club usually needs are switched on for you:
- Sports club: Club points, Sponsorships (with Directories and Donations, which sponsorships need) and News.
- Cycling or running club: Club Rides with a ready-made Club ride event type, Club points and Sponsorships (with Directories and Donations). See club rides.
- Bushwalking or hiking club: Club Rides, worded as walks, with a ready-made Club walk event type, and Club points. See club rides.
- Car or motorbike club: Vehicles, Club points and News.
- Training organisation: Courses and Club points.
- School or educational community: Donations, Directories and News.
- Something else: nothing extra.
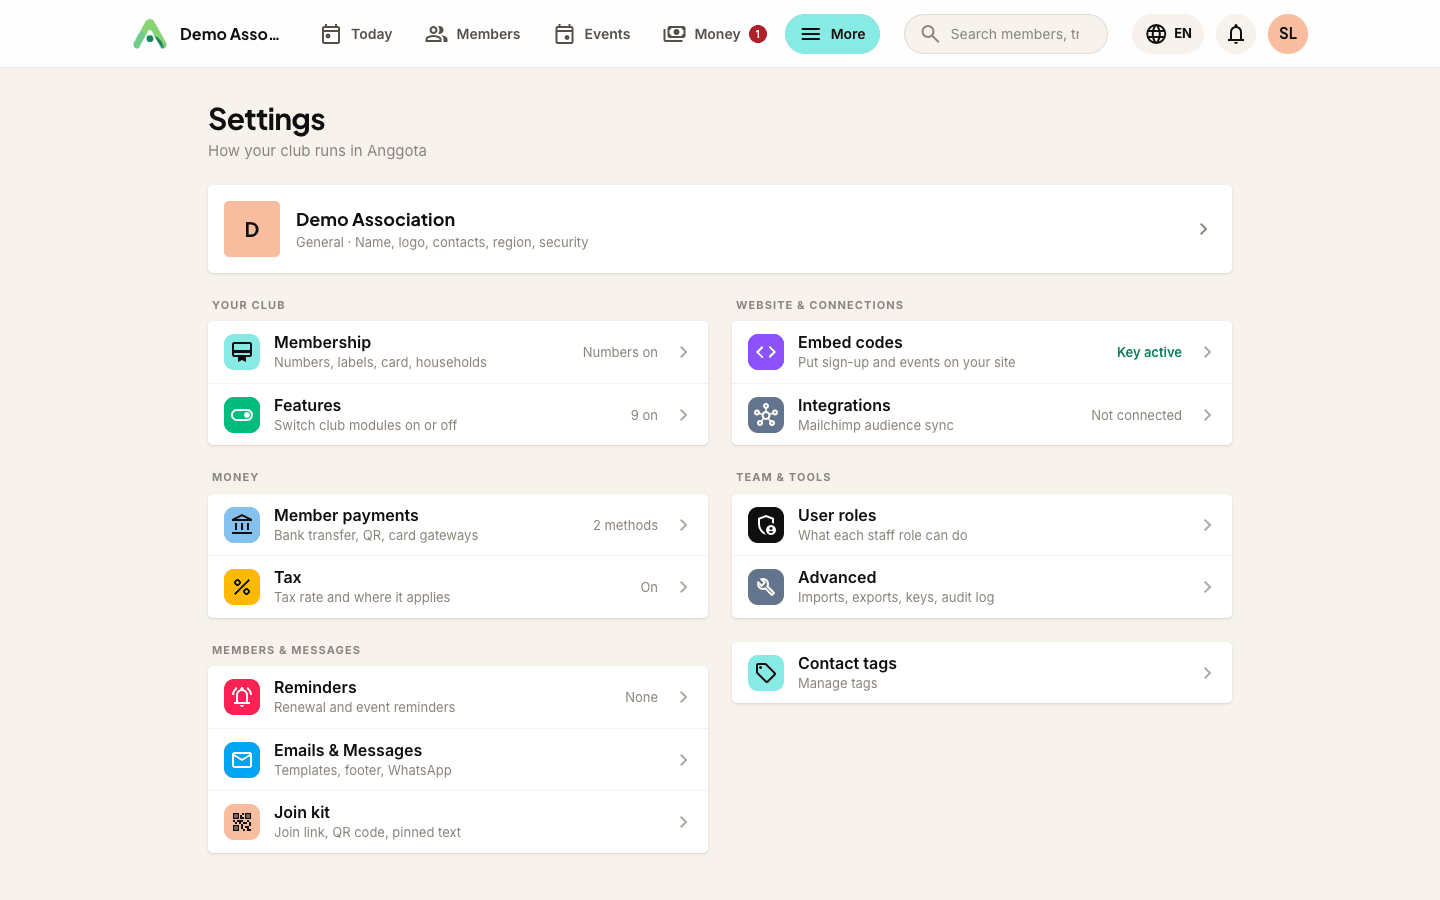
This only ever switches things on, and only for your first answer. Click Skip for now and nothing changes. You can switch any tool on or off at any time under More → Settings → Features.
2. Set up your organisation profile
Go to Settings → General and fill in your organisation name and contact details. The contact email matters: it is where Anggota sends alerts, such as when a member reports a manual payment. See Organisation profile.
3. Choose how you will get paid
Under Settings → Member payments, either upload a QRIS code for members to scan, or connect your own PayPal, Xendit or DOKU account. You can offer both. See Payment options.
4. Create your membership levels
In Membership levels, add the tiers you offer (for example Individual and Gold), set the fee and the renewal period. See Levels and renewals.
5. Bring in your members
Add people one at a time, or import your existing spreadsheet in one go.
6. Share your join page
Every organisation gets a public join page. Share the link, and members can sign up and pay themselves, with no data entry for you.
Tip: you do not have to finish everything at once. Anggota saves as you go, and you can always come back to a step later.
Still stuck? Reach your Anggota contact and we will walk you through it.
mailContact us