

EN, Language: English
Language
EN, Language: English
Help centre
Guides and answers for running your organisation on Anggota.
Events and registration
Anggota looks after the whole event, from a members' meetup to a paid gala dinner, which means a page for people to sign up on, taking their payment, and a tidy list of who is coming.
Create an event
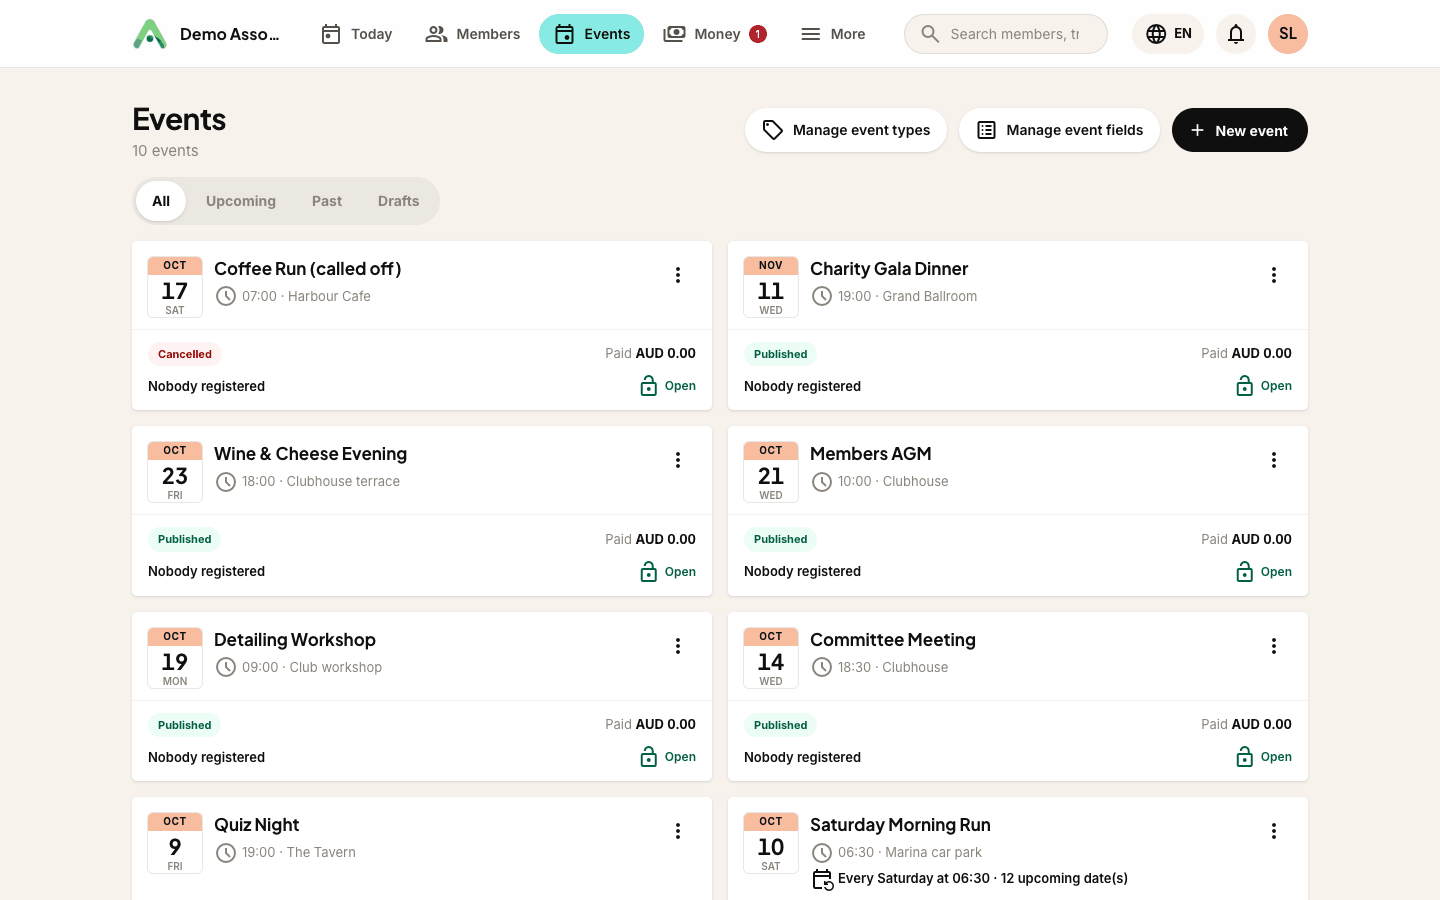
- Open Events and click New event.
- Enter the title, date and time, and location. Times use your organisation's timezone, so what you type is what members see.
- Optionally pick an Event type (see below).
- Click Save. New events start as a draft, so nobody sees it yet, and come with one free General admission ticket.
- Open the event again and, on the Tickets tab, reprice that ticket or add more - free or paid, with an optional cap. On a ride this tab is called Pace groups.
- When everything looks right, publish it (see the next section).
Draft or published
Every event has a status, shown in a coloured bar at the top of the page, next to a Save button:
- Draft (peach): not visible to members or on your website. New events start here.
- Published (teal): visible on your website and to members.
- Cancelled: shown as cancelled, and nobody can register.
To publish, change the status to Published and click Save, or click Publish now in the bar. The bar stays at the top as you scroll, so you can save from any tab without hunting for the button.
While an event is still a draft, its page shows a banner saying so, with a one-click Publish now button. If the event is one date of a recurring event, the button reads Publish all upcoming dates and publishes the whole series (see recurring events).
Organise events with types
Event types - Workshop, Gala Dinner, AGM, and so on - group your events and let you attach the right questions to the right kind of event.
- On the Events list, click Manage event types.
- Enter a Type name and click Add type. Each type shows how many events use it.
- When you create or edit an event, choose its type on the Details tab.
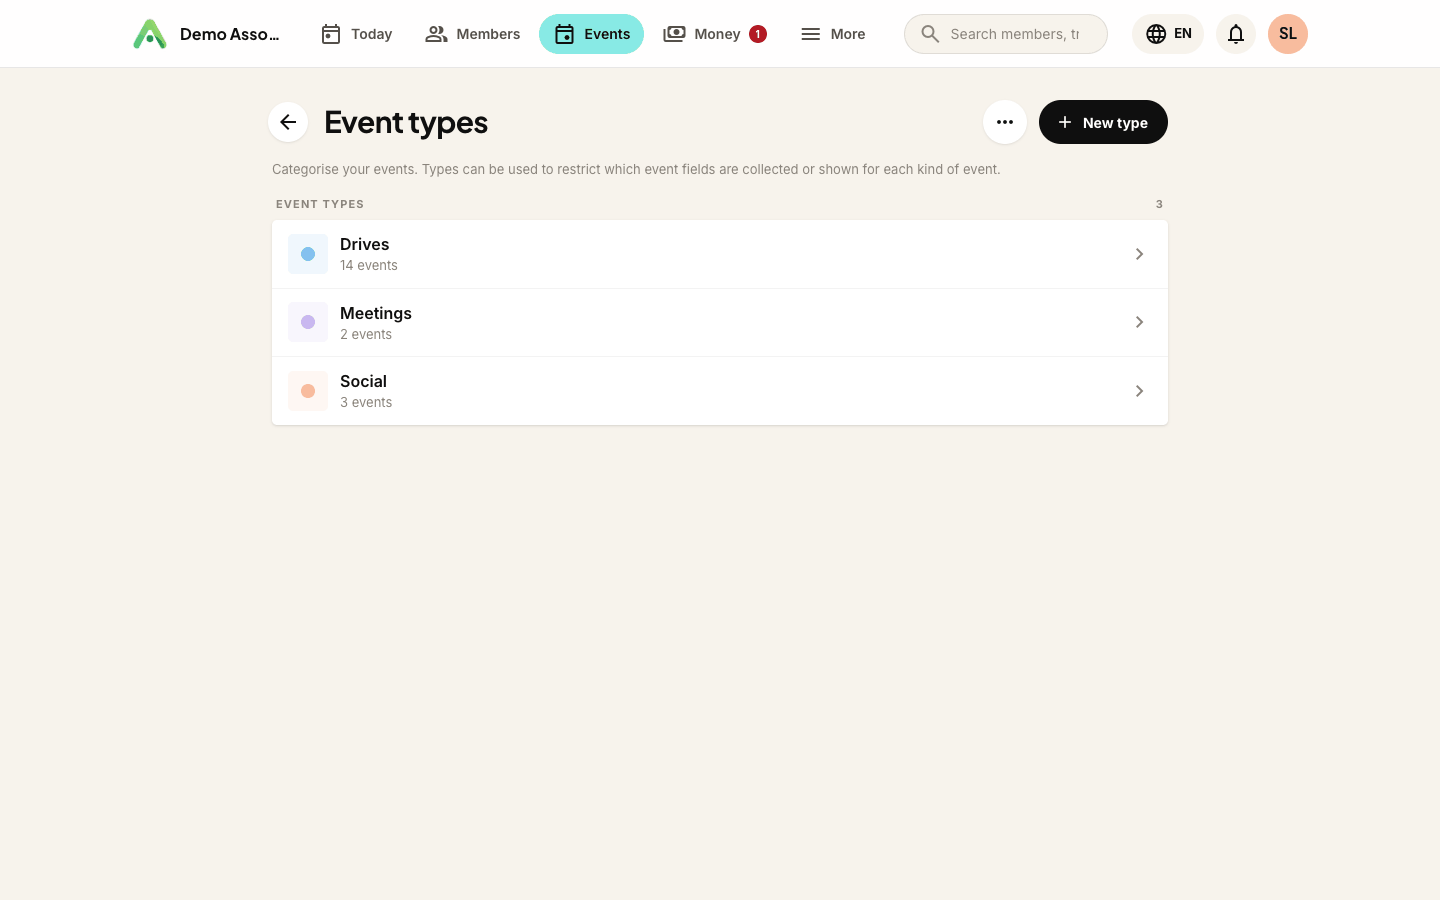
If you click New event before you have any event types, Anggota asks Add an event type first? Type a name and click Add event type, and you land straight back on your new event. Click Continue without one to skip it.
If your club has Club rides switched on, the add form also has a tick box, Events of this type are rides. It is ticked by default for cycling and running clubs. Pace groups, ride leaders and leader sign-on only work on events whose type has it ticked - see club rides.
Deleting a type never deletes its events, which simply lose the type.
Ticket types, member pricing and limits
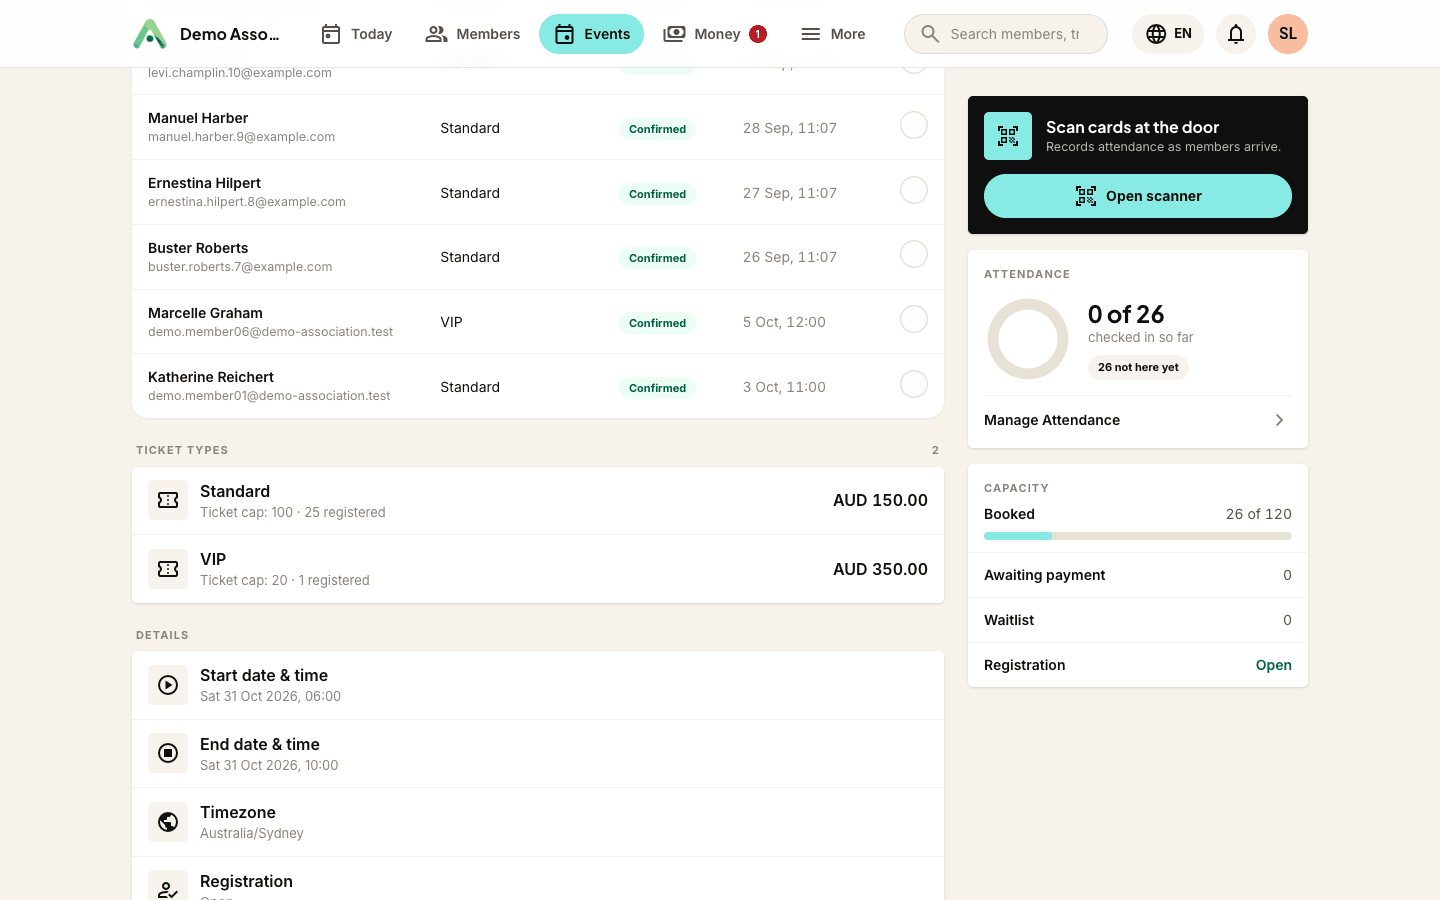
Every event has one or more ticket types. Open an event and use the Tickets tab to add them. Beyond a name, a price and a cap, three settings shape who may buy what.
Member price (optional) lets you charge members less than the public. Leave it blank and members pay the regular price. Set it and the ticket shows both prices, with the member rate labelled, so the discount is visible on the registration page rather than being a surprise at checkout. The member rate is applied on the strength of the buyer's own membership, so it cannot be claimed by someone forwarding the link.
Max places per person caps how many places one person can take, counted across every ticket type on the event, not per ticket. Set it to 2 on a dinner and nobody books a table of ten under one name. Leave it blank for no limit.
Limit to membership levels decides who can see the ticket at all. Tick nothing and anybody can buy it. Tick one or more levels and only current members on those levels are shown it. A committee-only ticket simply does not appear for anyone else, rather than appearing and then refusing them.
These rules hold everywhere the event is sold, including the registration embed on your own website and a registration you add by hand for somebody who booked off-line. There is no back door that skips the limit.
Ask registrants questions, and add event details
Two kinds of field work on events:
- Registration questions - asked of every person who registers (dietary needs, a workshop stream, a jersey size). Each answer is saved against that registration.
- Detail fields - extra information you fill in on the event itself, and can optionally show on the public event page (a dress code, a parking note).
You can add a field to a single event, or define an event field once and have it apply to every event, or only to events of chosen types.
- To add a field to one event, open the event, go to the Registration form tab and click Add question.
- To reuse a field across events, go to the Events list and click Manage event fields. Add the field and, if you want, restrict it to certain event types. Leave the restriction empty to ask it on every event.
- Tick This is a registration question to ask registrants; leave it off for an admin-only detail field.
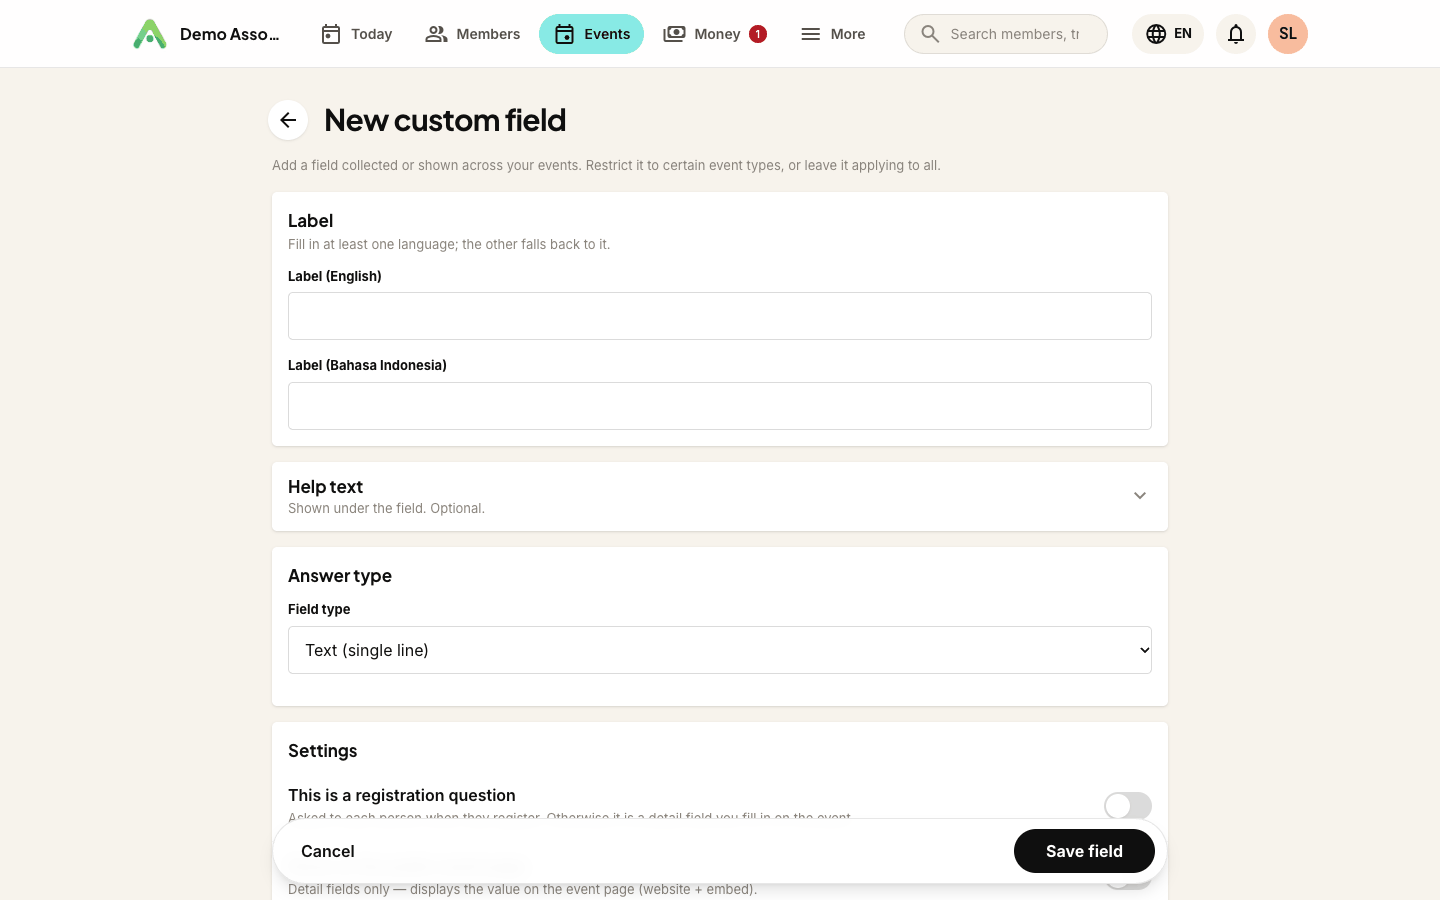
The Registration form tab lists every question this event asks, in order, and labels where each one comes from: from the event type, asked on every event or just this event. Above the questions, Contact details lets you choose which contact details are collected (not collected, optional or required).
If some questions are set up for an event type but this event has no type, the tab shows a warning that they are Not asked, with a button to set the event's type in one click. Save the event and those questions are asked from then on.
The field types and rules are the same as member fields - see custom fields.
Taking registrations
Share the event's registration link. Members choose a ticket, answer any registration questions, enter their details, and pay (by card or gateway, or by QR / bank transfer if you offer it). Each registration is recorded against the member's profile, and a paid ticket creates an invoice you will find under Money → Invoices.
See who registered
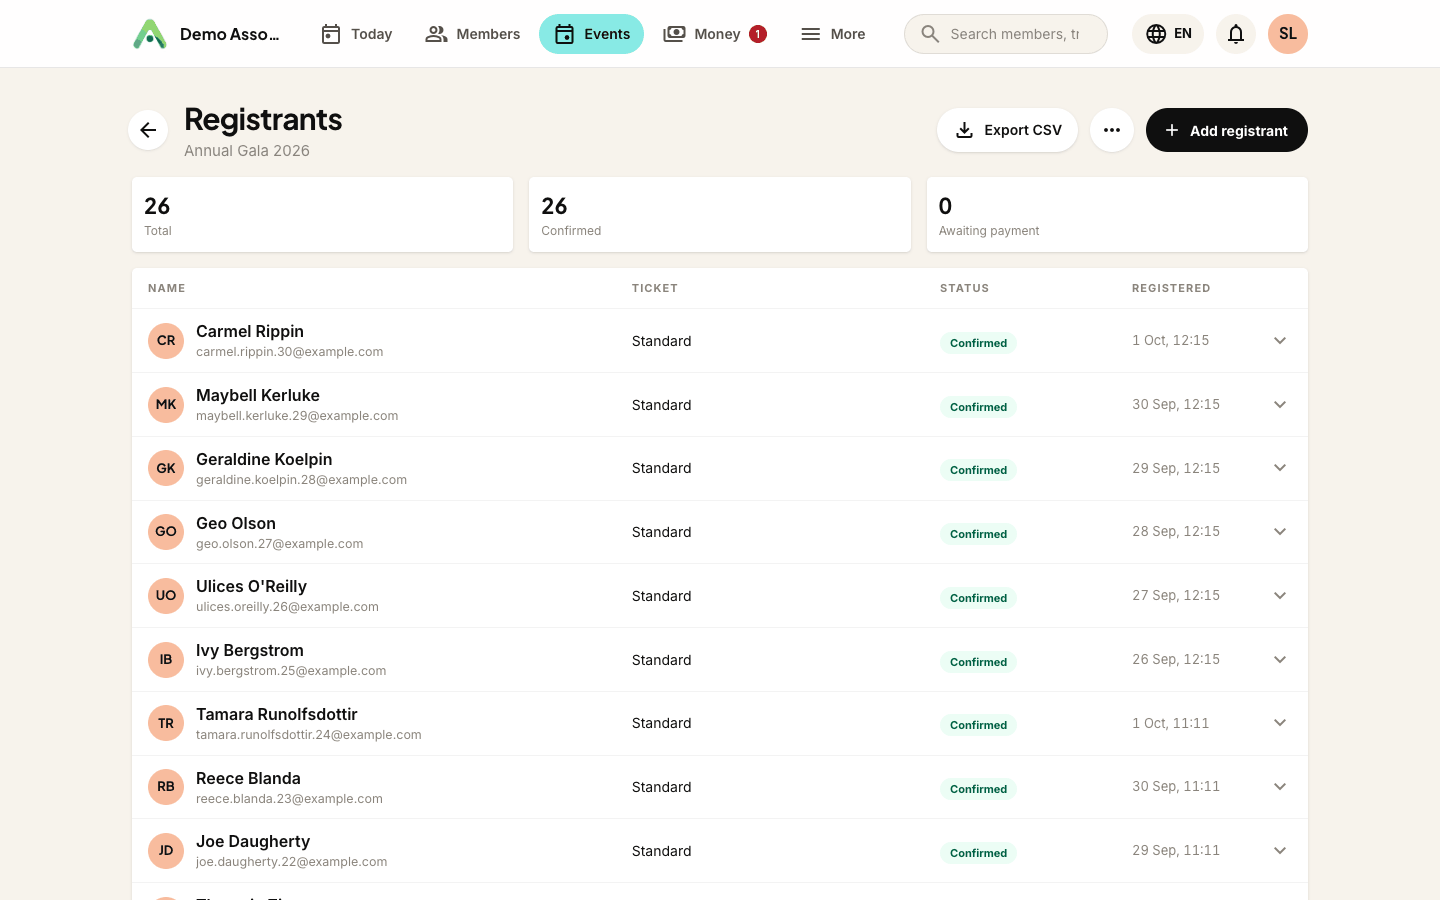
Open an event and click Registrants for a live list of everyone who signed up, with their ticket, their status and their answers to your registration questions. Click Export CSV to download the whole list (one column per question) for a name-badge run or a check-in sheet. You can also reach it straight from the events list: every row links to its registrants, and so does the registrant count.
Add someone who registered off-line
Not everyone signs up through the website. For the cheque in the post, the form handed in at a meeting, or the bank transfer that never touched a gateway, click Add registrant on the registrants page.
Enter their name and email, choose the ticket, and say whether they have paid. Anggota creates exactly what a public registration creates (the contact, the registration, and for a paid ticket an invoice), so the list, the CSV export and the event's income all include them with no special cases. Mark it as already paid and the payment is recorded against the invoice properly, not just flagged.
No confirmation email is sent: the person in front of you already knows they are registered.
Take an event off-line, or delete it
Two controls sit on each row of the events list:
- Disable puts a published event back to draft, which hides it everywhere the public can see it (your Anggota site, your embedded widgets and the registration page itself) while keeping every detail and registration intact. Enable publishes it again. Use this to pull an event while you rethink it, or to close one that has run.
- Delete removes the event for good, along with its ticket types and custom fields. It asks you to confirm first, and it only appears when nobody has registered. Once there are registrations the option is gone, and you disable the event instead, so you never lose the record of who came and what they paid.
Tip: paid events create an invoice automatically, just like memberships, so event income sits under Money → Invoices with everything else, ready to reconcile.
Next: understand payment options and the QR "I have paid" flow.
Still stuck? Reach your Anggota contact and we will walk you through it.
mailContact us